
Another variation on the cheese and onion theme, these toastie pockets are a quick and easy snack time favourite for cheese (and onion) lovers everywhere. Despite all the variety of fillings available for toastie makers, the old favourite flavours are still considered to be among the best, and few of these can rival the traditional combination of cheese and onion.
Cheese & Onion Toastie Pockets

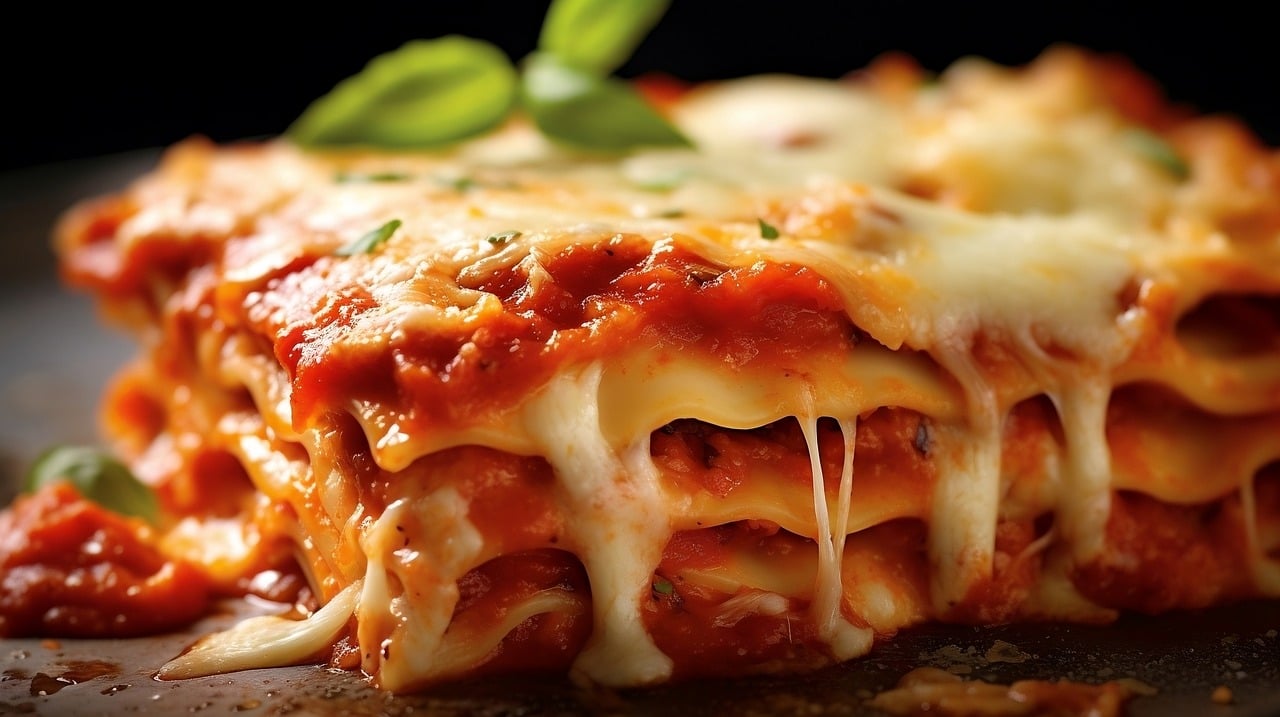
Your choice of cheese depends on your particular favourite or go to cheese. Mine is always a mature cheddar as a base, as I simply love the rich, deep flavour it brings to any sandwich. Cheddar always toasts well, so I always have a resealable bag of ready grated mature or extra mature cheddar in my fridge so that I am "ready" for whenever the mood takes me (and grated because I am lazy, and hate grating!). With these toastie pockets, I prefer to top off the filling with a slice of Emmental to hold everything together while cooking.
The onions in this toastie pockets recipe are raw but chopped or diced into fine pieces. This way they are small enough to heat through yet still provide a slight crunch and texture against the lovely melted cheese. On the other hand if you prefer, you could brown or caramelise the onions first in a frying pan before adding to the sandwich.
This recipe requires one small or half a medium sized onion, finely chopped, but I prefer to chop the whole of the larger onion and put half into a freezer bag. This can then be frozen and so the next time that you have a yearning for a cheese and onion toasted sandwich, you can simply defrost the onions and they are ready to go!
What you will need for the perfect Cheese & Onion Toastie Pockets
Thick sliced bread is a minimum requirement for any toastie or grilled sandwich. My preference is normally for a thick white sliced, but here, I have opted for a thick sliced 50/50 white/wholemeal combination which works well in these toastie pockets.

The onions I use in these toastie pockets need to be finely chopped. As a rough guide to the amount required I prefer the ratio of cheese to onion to be approximately three to one, but you can obviously alter this according to your personal taste. As mentioned above, this recipe only requires half of a medium sized onion, finely chopped, however, I prefer to chop the whole onion and put half into a freezer bag. This can then be frozen and so the next time that you yearn for a cheese and onion toastie, you can simply defrost the onions and they are ready to go!

The cheese I have chosen to compliment the onions for these toastie pockets is a mature grated cheddar. I simply prefer my cheese to have a good depth of flavour, but you could literally choose any type of cheddar or whatever is in your fridge. As I am always "unready" and also, I hate grating, I find it much simpler to buy the cheese ready grated from my local supermarket. I always have at least 2 or 3 bags of different kinds of cheeses in my fridge so I'm always ready for that craving for sandwich or snack. These are usually supplied in resealable bags so you can just use the amount you want and keep the rest for later (up to 5 days so no need for waste).


Although this is a simple filling, my personal preference is to add a little seasoning in the form of a pinch of ground black pepper to enhance the flavour.
Making the perfect Cheese & Onion Toastie Pockets

Turn on the snack maker with the sealed toastie plates fitted. These provide a sealed toasted pocket for the filling by compressing the outer edges and diagonal to form triangular shaped sealed snacks. Depending on the size and amount of the filling, rather than make up the sandwich and lift onto the plates, it can sometimes provide a deeper pocket if you place the bottom slice onto the hot plate and make a recess for your filling with the back of a spoon by pressing the bread into the mould. However, be aware that the plates are extremely hot, and you will need to work quickly as the bottom slice will start toasting as soon as it touches the plates while the top will only start to toast when the filling and top slice are in place and the lid is closed.

While the appliance is heating up gather all the ingredients to hand and prepare and dice the onions for the filling.

Butter the one side of each of the 4 slices of bread. This will achieve the beautiful golden finish on the outer surfaces of the bread during the cooking process. (You could lightly spray or spread on a good quality oil if you prefer).

To start assembling your sandwich, turn 2 slices over (buttered side down) and cover the dry side with the grated cheddar cheese.

Then take the pre-chopped and diced onions and spread over the grated cheese taking care to keep in from the edges to avoid too much of the filling squeezing out.

Sprinkle a pinch of ground black pepper seasoning over the onions before covering with the slice of Emmental cheese, then placing the remaing slice of bread on top with the buttered side uppermost.

With your 2 sandwiches now assembled, once the appliance is up to temperature, carefully position the completed sandwiches onto the bottom grill plate (taking great care as this is very hot and will sizzle noticeably upon contact). It is important to close the top plate slowly ensuring the sandwich has not moved before locking into place.
Cook for approximately 6 minutes or until golden.

Once your toastie pockets are ready, switch off the appliance at the socket. NEVER lift your finished sandwich out with your fingers as the plates will still be extremely hot! Always use wood or plastic tools to loosen and lift away your sandwich, which usually comes away from the non-stick surface easily.
The Recipe

The Cheese & Onion Toastie Pocket
EQUIPMENT
- 3-in-1 snack maker with sealed toastie plates
PREPARATION TIME : 5 minutes
COOKING TIME : 6 minutes (approx.)
SERVINGS : 2
INGREDIENTS
- 4 slices thick 50/50 bread
- 15g butter or similar
- 1 small onion (finely diced)
- 140g grated mature cheddar cheese
- 2 slices of Emmental cheese (70g approx.)
- pinch of ground black pepper

STEP BY STEP INSTRUCTIONS
- Turn on the snack maker
- While the appliance is heating up gather all the ingredients to hand.
- Butter one side of each of the 4 slices of bread
- Turn 2 of the slices over (buttered side down) and cover with the grated cheese
- Sprinkle diced onion over the cheese (taking care to keep in from the edges)
- Sprinkle a pinch of ground black pepper over the onions
- Cover the onion with the slices of Emmental cheese
- Place the remaing slice of bread on top with the buttered side uppermost
- Carefully place the completed sandwich onto the toasting plates
- Close the top plate and click the handles to lock in place
- Cook for approximately 6 minutes or until golden
Or you could try...

If you wanted to change things slightly, you could try replacing the diced onions with chopped chives. This will add a crisp texture and a bit of colour to your filling.
For a more subtle taste variation, try a level teaspoon of mild mustard spread over the inner surface of the top slice of bread to add another complimentary rich layer of flavour to this delicious combination.
Perfect with...

The Cheese & Onion Toastie Pockets are perfect on their own as a snack at any time of day, whenever the fancy takes you.
Or simply add to a plate of crisp lettuce and freshly chopped tomatoes with a light dressing, to create a quick tasty lunch for two.
How does your sandwich maker compare?
For most of the recipes shared here I use my trusty Tower Deep Fill 3-in-1 Sandwich Maker, so obviously you may need to adjust your ingredients slightly if you are using a different appliance. Having said that, most sandwich makers are very similar in design and size, and the amount of each filling is a guide only and you can increase or decrease, add or subtract, according to your personal taste.
Never be afraid to experiment, and remember you won't always get the perfect result first time, so if at first you don't succeed try, try and try again. It's great fun!
If you want to check out some of the alternative 3-in-1 machines available check out our guide...


Comments
Post a Comment